Monetizing Your Blog
Google AdSense Setup:
A Step By Step Guide
I’m going to be going through the 2 easiest methods I’ve used on my own website, as well as some of my client’s sites.
These options are incorporating the code either using a WordPress plugin, and using certain settings within your theme (if it allows for integration).
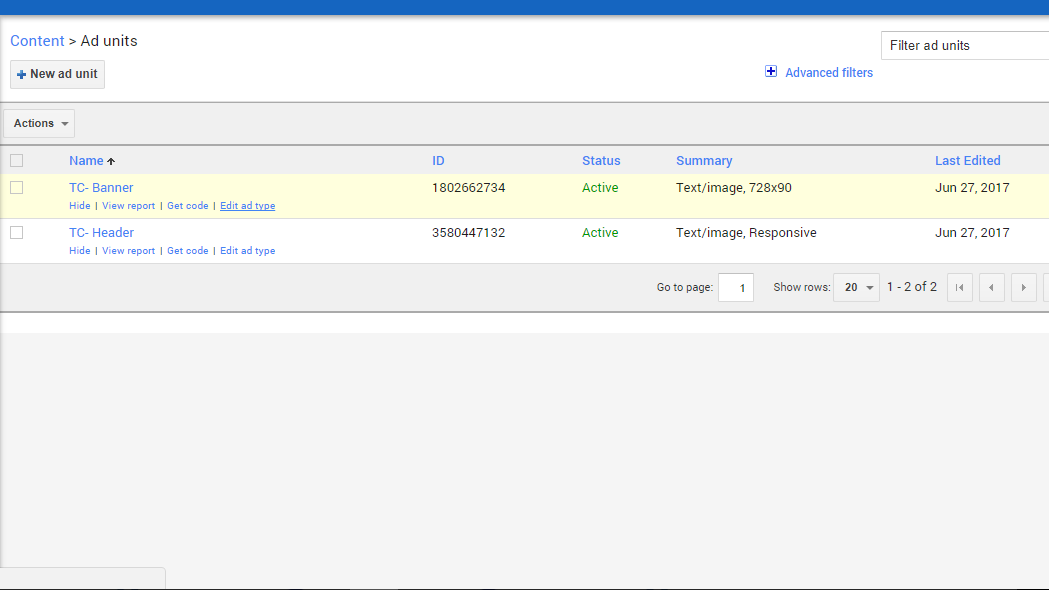
To get Google AdSense setup, you’ll need to paste some code into your site so that Google can verify the ownership of your domain. You’ll also need to paste the code of the actual ads you’ll be using onto whichever section of your site you’ll want to display them. You can choose to place them in either the header or footer of your websites, the sidebar, or throughout posts and pages. The options are limitless.
So, without further ado, let’s begin!
Side Note: I’ve also used the theme editor in the dashboard to connect adsense but that method is a little more involved and I wouldn’t recommend it for a novice or beginner because one misclick can easily cause an issue. We’ll keep it simple here and try and get Google AdSense setup for you in as little time as possible!

What Is Google AdSense?
AdSense pays for impressions and clicks on the different ads displayed throughout your website, so the greater your traffic, the more you can make. In order to make a decent amount of money with AdSense, you’ll need to be getting vews from visitors in the range of at least the thousands. This might seem like a bit much when you’re first starting out but if you focus on creating a good amount of quality content on your website, and promoting it through social media, you can achieve this!
Why Google AdSense?
1) Trusted Name
I don’t think I’ve ever come across someone who hasn’t heard of Google. They have a range of different products, specifically those related to running a business or website, like their Keyword Planner- which is a staple in my keyword research for my blog topics.
They also have handy things like Gsuite which allows you to easily create and manage an email address for your domain, like my [email protected]!
(If you’re interested in this service then click HERE for a code for 20% OFF your first year of service!)
2) Adaptive Ads
Another wonderful feature is their adaptive ads. You are able to customize what type of content you are, and aren’t comfortable displaying. For example, you can get paid more for allowing 18+ content on your website but have the option of disabling that, and many other categories if you feel they aren’t relevant.
AdSense also crawls your website and looks at what type of content you have displayed on your blog and shows ads that are relevant, and would appeal to people reading your posts!
3) Easy Integration
Google is wonderfu at integration in so many ways. Not only with how you can incorporate them- such as in the sidebar, in posts, or even in the header or footer of your blog, but also just using the service.
They allow you to connect multiple websites to one AdSense account making it easy and convenient to manage all your information in just one place. You can also customize which types of ads you want to allow for each individual website. Their versatility never ceases to amaze me!
The Process
First, you’ll need a gmail because Google requires one for you to sign up with. Either use an existing gmail, or create a new one. After you sign up they’ll ask you to copy the provided code “between the “head” and “head” tags of your homepage. This is where you’ll incorporate either of the methods I’ll outline below.
After they’ve confirmed the code is setup properly, they’ll ask you to set up payment address, and provide a phone number. If everything has gone okay up to this point and they approve your application, then you can begin implementing ads onto your site.
Your account can be denied for any number of reasons. Most commonly I’ve seen it happen because of a lack of content, so don’t be too eager to try and monetize. Make sure you have a decent number of posts, or meaningful content or you could be denied and have to wait and reapply at a later time.
Method 1: Plugin
(Click HERE for a list of my favorite WordPress plugins. Promise, you won’t be disappointed!)
This plugin, Insert Headers and Footers, lets you easily insert code into your header or footer, so connecting Google AdSense to your wesbite will be an absolute breeze!
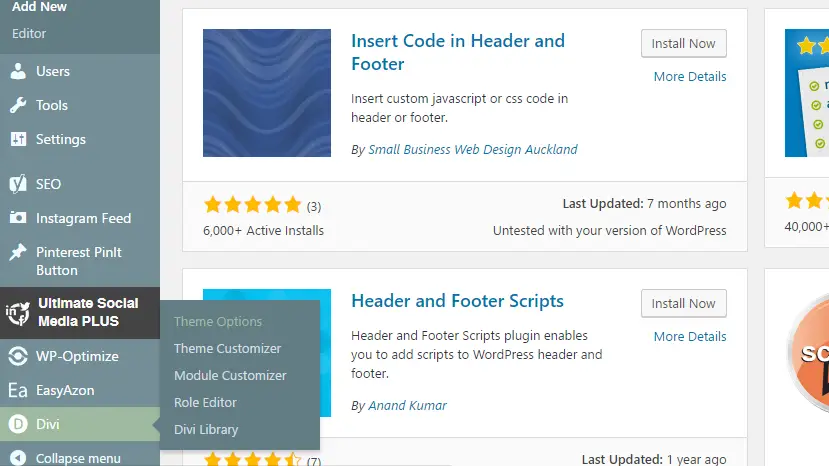
First go to your WordPress dashboard, hover over plugins, and click on add new plugin. In the search bar type “insert header” and it should be the first option in the list. Provided a picture below for reference.
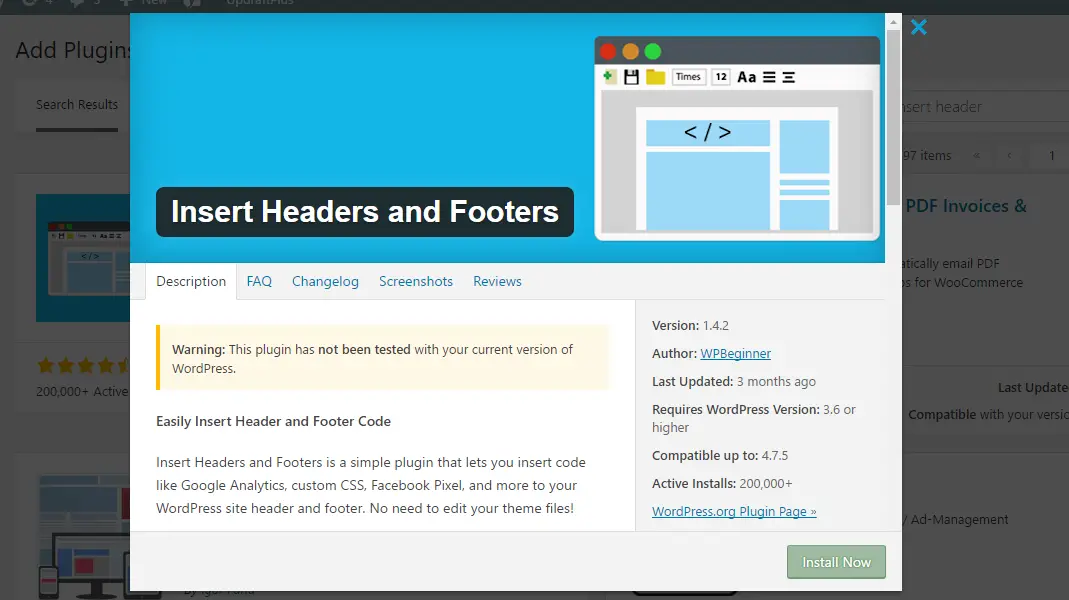
Click on it and you’ll see a page similar to the one shown below.
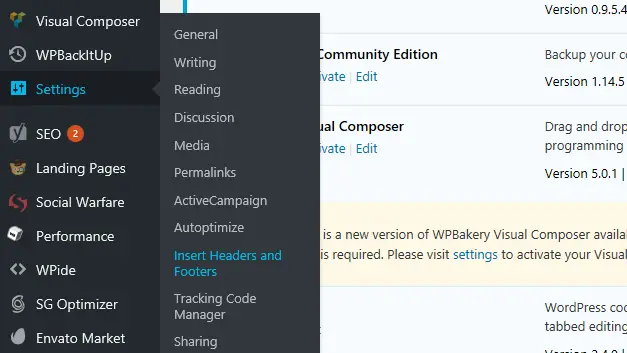
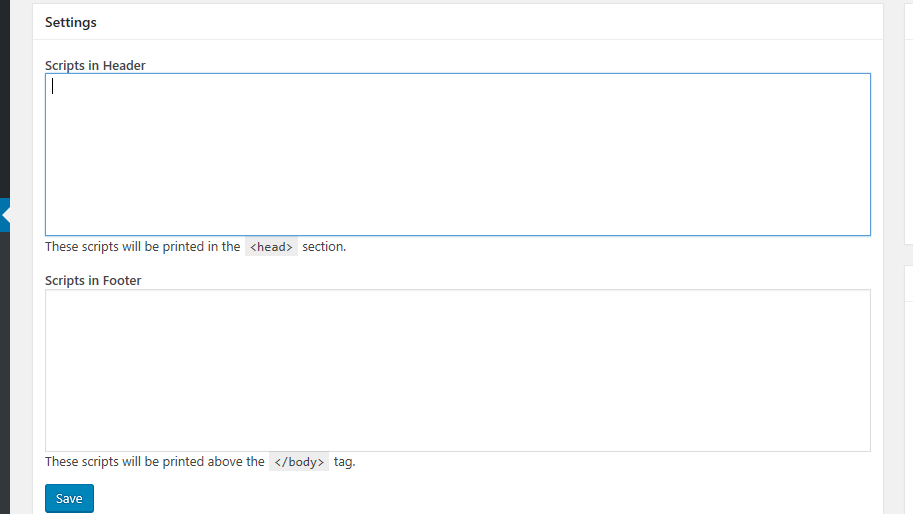
Lastly you’ll just need to copy the code provided to you by Google AdSense, paste it into the first box for scripts in the header, and hit save. You’re done! On the page where the Google AdSense Setup is still open you’ll just need to check the box and click done.

Method 2: Theme Integration
First you’ll just need to head over to your theme options.
For Divi it is found in your dashboard, towards the very bottom. Just hover over Divi and select the top option,
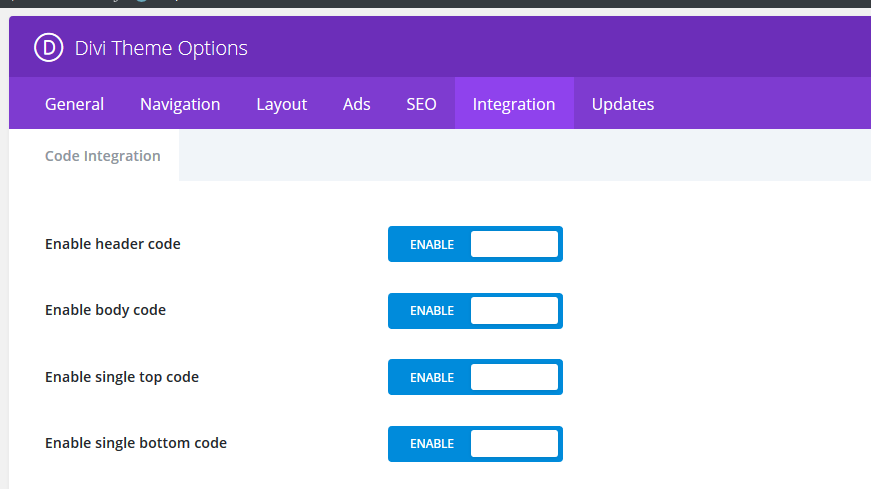
After you’ve clicked on it, you’ll go over to the top tab that says integration.
You’ll want to ensure that the option to enable header code is on.
Once it’s added hit save changes and return to your AdSense application. Check the box, click done and you’re finished.
They’ll let you know soon whether or not your account is approved and if you’re ready to start implementing ads!

Customizing Ads
Allow & Block Ads
As far as content that you’d like to allow or disallow on your site, AdSense has this nifty section where you can choose to turn certain categories on or off. Things like drugs and supplement, real estate, and fashion are just a few of the categories available.

Custom Ad Units
My aboslute FAVORITE feature here is the ability to customize the colors featured in this ad. That’s right! You can incorporate the color theme from your website making the ads seem like they are really a parto f your website. I feel like this helps to ensure that your visitors won’t see them as offputting or out of place.

Page-Level Ads

You don’t get to pick the color scheme but it does get nice, responsive ads up on your site.
I plan on making another post soon showing how AdSense looks integrated into your, and the best places to put them so you can visually see the difference between sidebar ads, in page ads, and ads placed in headers and footers. If you’re interested in that, and even more awesome content, then subscribe below to never miss an update!
I hope this post has been helpful to the start of your AdSense journey! If you have any special tips or tricks you use for AdSense, let me know below!